pyvista.Plotter.enable_rectangle_picking#
- Plotter.enable_rectangle_picking(callback=None, show_message=True, font_size=18, start=False, show_frustum=False, style='wireframe', color='pink', **kwargs)[source]#
Enable rectangle based picking at cells.
Press
"r"to enable rectangle based selection. Press"r"again to turn it off.Picking with the rectangle selection tool provides two values that are passed as the
RectangleSelectionobject in the callback:RectangleSelection.viewport: the viewport coordinates of the selection rectangle.RectangleSelection.frustum: the full frustum made from the selection rectangle into the scene.
- Parameters:
- callback
callable(),optional When input, calls this callable after a selection is made. The
RectangleSelectionis the only passed argument containing the viewport coordinates of the selection and the projected frustum.- show_messagebool |
str, default:True Show the message about how to use the cell picking tool. If this is a string, that will be the message shown.
- font_size
int, default: 18 Sets the font size of the message.
- startbool, default:
True Automatically start the cell selection tool.
- show_frustumbool, default:
False Show the frustum in the scene.
- style
str, default: “wireframe” Visualization style of the selection frustum. One of the following:
style='surface',style='wireframe', orstyle='points'.- color
ColorLike, default: “pink” The color of the selected frustum when shown.
- **kwargs
dict,optional All remaining keyword arguments are used to control how the selection frustum is interactively displayed.
- callback
Examples
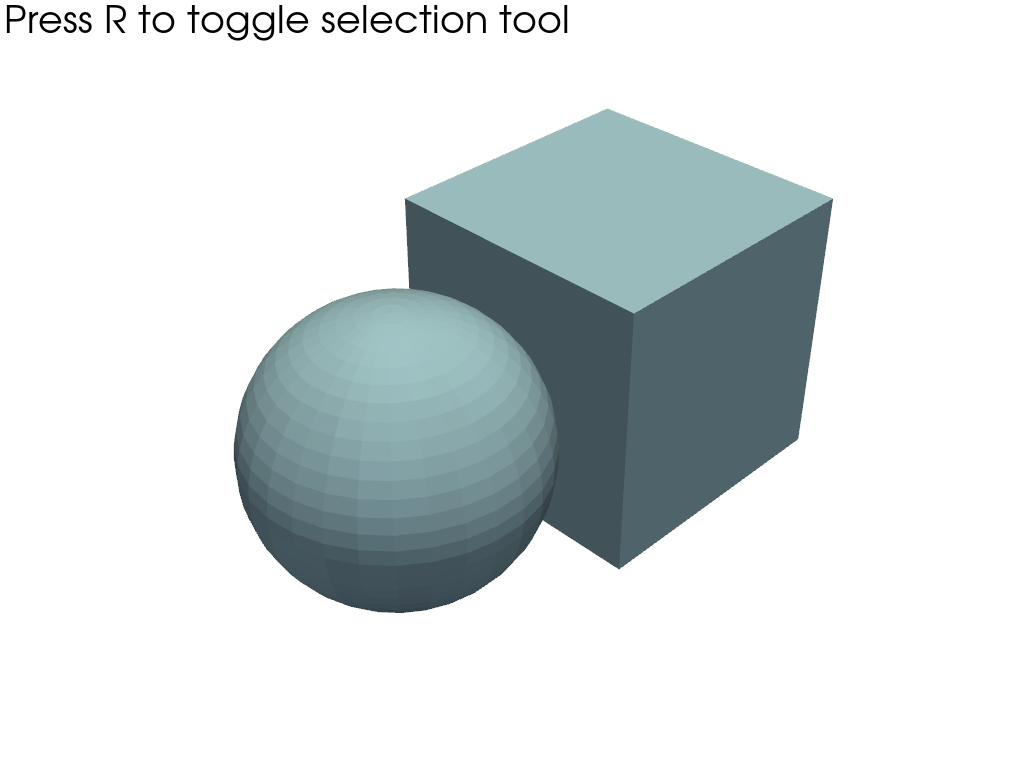
Add a mesh and a cube to a plot and enable cell picking.
>>> import pyvista as pv
>>> mesh = pv.Sphere(center=(1, 0, 0))
>>> cube = pv.Cube()
>>> pl = pv.Plotter()
>>> _ = pl.add_mesh(mesh)
>>> _ = pl.add_mesh(cube)
>>> _ = pl.enable_rectangle_picking()
