Note
Go to the end to download the full example code
Depth Peeling#
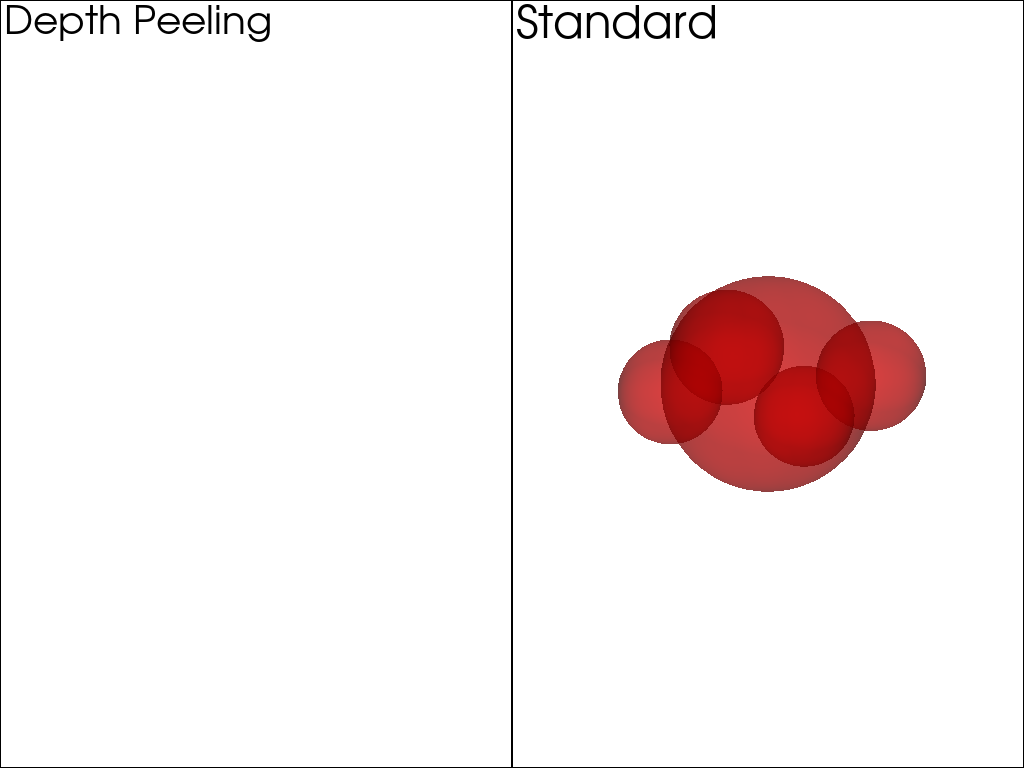
Depth peeling is a technique to correctly render translucent geometry. This is
not enabled by default in pyvista.global_theme as some operating systems and versions of VTK
have issues with this routine.
For this example, we will showcase the difference that depth peeling provides.
import pyvista as pv
from pyvista import examples
dargs = dict(opacity=0.5, color="red", smooth_shading=True)

p = pv.Plotter(shape=(1, 2))

p.add_mesh(spheres, **dargs)
p.enable_depth_peeling(10)
p.add_text("Depth Peeling")

p.subplot(0, 1)
p.add_text("Standard")
p.add_mesh(spheres.copy(), **dargs)

p.link_views()
p.camera_position = [(11.7, 4.7, -4.33), (0.0, 0.0, 0.0), (0.3, 0.07, 0.9)]
p.show()

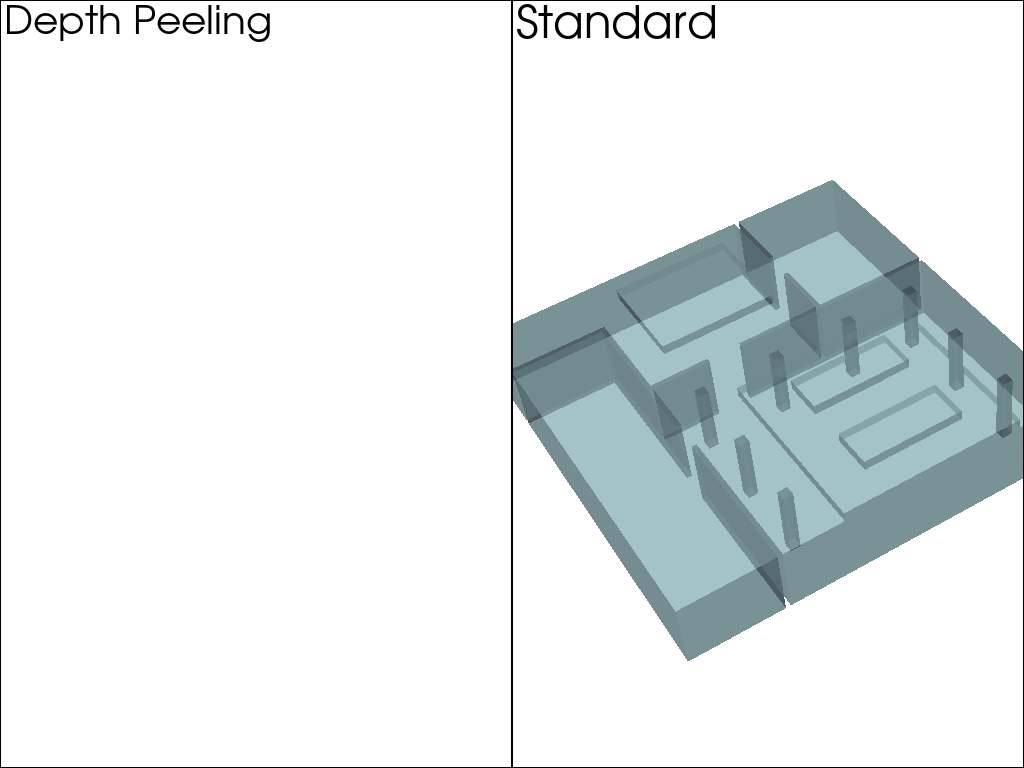
The following room surfaces example mesh, provided courtesy of Sam Potter has coincident topology and depth rendering helps correctly render those geometries when a global opacity value is used.
room = examples.download_room_surface_mesh()

p = pv.Plotter(shape=(1, 2))

p.enable_depth_peeling(number_of_peels=4, occlusion_ratio=0)
p.add_mesh(room, opacity=0.5, color='lightblue')
p.add_text("Depth Peeling")

p.subplot(0, 1)
p.add_text("Standard")
p.add_mesh(room.copy(), opacity=0.5, color='lightblue')

p.link_views()
p.camera_position = [(43.6, 49.5, 19.8), (0.0, 2.25, 0.0), (-0.57, 0.70, -0.42)]

p.show()

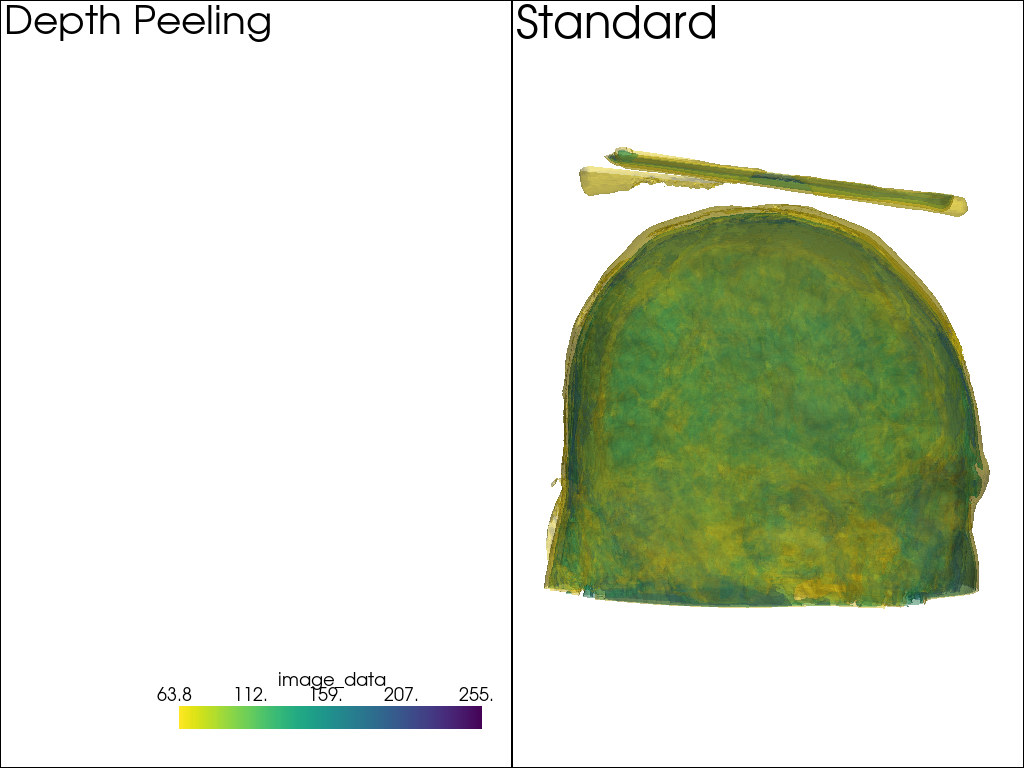
And here is another example wheen rendering many translucent contour surfaces.
mesh = examples.download_brain().contour(5)
cmap = "viridis_r"

p = pv.Plotter(shape=(1, 2))

p.add_mesh(mesh, opacity=0.5, cmap=cmap)
p.enable_depth_peeling(10)
p.add_text("Depth Peeling")

p.subplot(0, 1)
p.add_text("Standard")
p.add_mesh(mesh.copy(), opacity=0.5, cmap=cmap)

p.link_views()
p.camera_position = [(418.3, 659.0, 53.8), (90.2, 111.5, 90.0), (0.03, 0.05, 1.0)]
p.show()

Total running time of the script: (0 minutes 36.967 seconds)